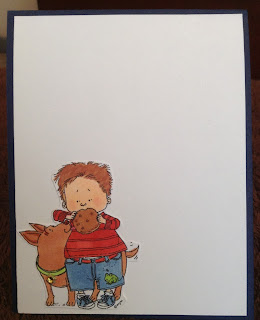
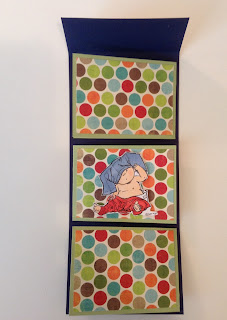
Here is the front of the card and the mini album (propped up on a note pad - white cube behind the mini). The images that I colored are Mo's Digital Pencil. I colored the images with my Copic markers.
Here is the first section of the mini album when you take off the belly band.
Here is the inside image on the card.
Here is the mini opened up, pictures can be placed on the designer paper pages.
Here is the inside flaps of the mini - the stickers I raised on dimensionals and purchased from Urban Paper in The Dalles, OR. The owner of Urban Paper, Jill McDonald is a good friend and she carries lots of wonderful things! The stickers are by Karen Foster Design and are called Fun Trucks and have 12 fun stickers on the page. I decided to do the album in more of a boy theme instead of a baby theme. It was quick and fun to do. The designer paper is also from Urban Paper.
Here is the instructions for this quick little mini:
Album spine/cover: 1 piece: 4 x 11, scored a 1-3/4, 2, 5, and 8 inches
Pages: 3 pieces: 7-1/2 x 2-3/4, scored at 3-3/4 inch (which in in half)
Designer paper for whichever sections you decide to cover is 3-1/2 x 2-1/2
Embellishments and decorating is up to you and what areas you want to decorate or journal in.
Tip: glue your pages in alternating positions on the album spine/cover before you add your designer paper, that way you put the designer paper on the right flaps!


